


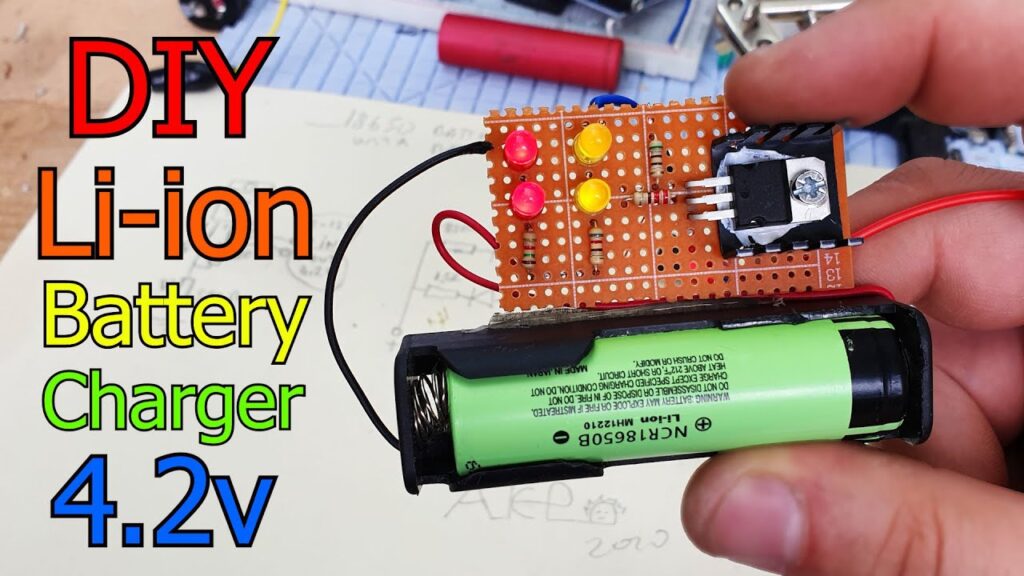
Lithium-ion 18650 batteries have become extremely popular for powering everything from flashlights to laptops. But in order to use these versatile batteries, you need a proper battery charger.
DIY battery chargers may seem intimidating. However, with the right components and a bit of circuit knowledge, even beginners can build their own 18650 charger. In this guide, as a professional 18650 battery packs manufacturer, I’ll walk you through a simple design that charges two batteries simultaneously.
Why Build Your Own 18650 Battery Charger?
You might be wondering why you’d want to build an 18650 charger instead of buying one. Here are some of the key benefits of a DIY charger project:
Cost Savings – Pre-made 18650 chargers range anywhere from $15 to well over $100. But with some basic electronic components and materials from your local hardware store, you can build your own for under $10.
Customization – Building your own charger allows you to add custom features like discharge circuits, voltage meters, cooling fans, and more. You can tailor the charger to your exact needs.
Compact Size – Manufactured chargers need to allow for larger production tolerances and clunky cases. But with a DIY charger, you can keep it as small and streamlined as possible.
Educational – Learning new skills is rewarding. And building electronic projects like this teaches you valuable skills in circuit design, soldering, debugging circuits, and more.
Parts and Tools Needed
While this project does require some specific parts, you can source everything for well under $10. Here’s what you’ll need:
- 2x 18650 battery holders
- 2x TP4056 charging modules
- 1x 5V USB phone charger
- DC power jack
- Hookup wire
- DC barrel plug connectors
- Soldering iron and solder
- Wire cutters/strippers
- Hot glue gun (optional)
The TP4056 modules provide overcharge, discharge, and short circuit protection. And they automatically switch from Constant Current (CC) to Constant Voltage (CV) charging – exactly what lithium-ion batteries need.
How to Make an 18650 Battery Charger
Step 1: Solder the Battery Holders
Begin by soldering roughly 6 inch lengths of wire between the positive (+) and negative (-) tabs on each battery holder terminal. Red wire works well for positive, black for negative. Leave the loose wire ends separated for now.
Step 2: Connect the Charging Modules
Solder additional short lengths of wire to the B+ (positive battery connection) and B- (negative connection) pads on the input side of each TP4056 module. The output side is marked CO+ and CO-.
Step 3: Attach DC Power Wires
Cut two longer lengths of wire and solder them to the 5V and GND input pads on both charging modules. Use red for the shared 5V line and black for ground.
Step 4: Install DC Power Jack
Solder the red wire to the center pin and black wire to the barrel sleeve of a 5.5mm x 2.1mm DC power jack. This allows connecting a standard 5V phone charger.
Step 5: Connect Battery Holders and Charging Modules
Connect both red battery holder wires to the CO+ (charge output) terminals on the TP4056 modules. Connect both black battery holder wires to the shared B- line (which links both TP4056 modules).
Optional: Clean Up Wires
Use hot glue to neatly adhere all the wiring in place and prevent shorts. Hot glue helps strengthen the joints too.
That completes the circuit! You now have a two-bay 18650 lithium-ion battery charger capable of delivering up to 1A charging current per module.
Charging Batteries
Tooperate your DIY 18650 battery charger:
- Insert two 18650 batteries, observing proper polarity.
- Connect any standard 5V USB charger to the DC input jack. For fastest charging, use a 2A (or higher) power supply.
- The TP4056 modules will automatically handle Constant Current and Constant Voltage charging. The modules also cut off when charging is complete.
And that’s all there is to it! With custom 18650 battery chargers, you can avoid the costs of commercial chargers, learn new skills, and tailor the project to your specific needs.
Whether you want to power flashlights, laptops, vape pens, or other electronics – this simple circuit handles lithium-ion battery charging. Just be sure to use quality and properly rated components, double check wiring before applying power, and monitor the batteries and charger during early charging cycles in case any problems arise.
Stay safe, and happy DIYing!
FAQs
Still have questions about building your own 18650 battery charger? Here are some common questions and answers:
How long does it take to fully charge 18650 batteries with this charger?
With a 2A power supply, the TP4056 modules can safely charge most 18650 sizes from dead to full within 3-5 hours. 3,000 – 3,500mAh cells will fall around the 4 hour mark.
What 5V power adapters can I use as a power supply?
Any USB charger or power adapter rated for 5 volts with at least 2 amps (2A) output should safely power this project. Quick charge adapters generally work too. Just avoid supplies over 5.5V.
Can I use different charging modules instead of the TP4056?
The TP4056 is a common choice for DIY battery chargers because it reliably handles full CC/CV charging cycles. But there are alternatives like the DW01 or LT1512 that offer similar performance and protection. The wiring would differ slightly.
How should I monitor charging? Can I leave batteries unattended?
Check on the batteries occasionally for the first few charging cycles. Ensure they aren’t getting excessively hot and that both charging modules are functioning (blinking LEDs). Once satisfied with normal operation, it’s generally safe to charge for extended periods unattended since the TP4056 cuts off when finished. But electronics can fail, so occasional checks are wise.
In Summary
I hope this DIY guide gives you the knowledge and confidence to build your own custom 18650 battery charger. With the right parts, a basic understanding of circuits, and some safe DIY skills – anyone can construct a quality 18650 charger.
Let me know if you have any other questions! I’m happy to offer guidance to help you successfully complete your battery charger project and power all your electronics.