


Assembling your own custom battery pack allows you to tailor a power solution to your specific needs, whether for an electric vehicle, solar storage system, robotics project or more. But where do you start?
In this step-by-step guide, as a professional lithium battery pack manufacturer, I’ll walk you through the entire DIY battery pack assembly process to help you build a safe, high-performance battery.
Why Assemble Your Own Battery Pack?
Here are the key benefits of assembling your own lithium battery pack instead of buying a pre-made one:
Customization
You can fully customize the battery’s voltage, capacity, discharge rate and charging parameters. This level of flexibility is useful for finding the optimal balance of features for your application.
Cost Savings
By sourcing individual cells and components then assembling the pack yourself, you can potentially save 40-60% off comparable pre-built batteries. This adds up substantially for large battery banks.
Better Performance
Careful hand assembly allows for tighter tolerances and higher quality welds than automated mass production lines. And you can use premium cells and components that commercial batteries may forego to cut costs.
Educational
Building your own pack is deeply educational, helping you intimately understand battery characteristics, safe handling procedures and performance optimizing techniques. This knowledge then translates to better battery selection and usage practices.
How to Assemble a Battery Pack?
Step 1: Design and Component Selection
Before assembly, you’ll need to make some key decisions:
Cell Chemistry
Select lithium battery chemistry based on performance needs:
- Lithium Ion: High specific energy makes Li-ion best for portable uses where low weight is key.
- Lithium Iron Phosphate (LiFePO4): Safest lithium chemistry and very long cycle life suit stationary applications like solar+storage.
Form Factor
Common options include:
- 18650 cylindrical cell: Mature format with widespread availability. Allows excellent cooling.
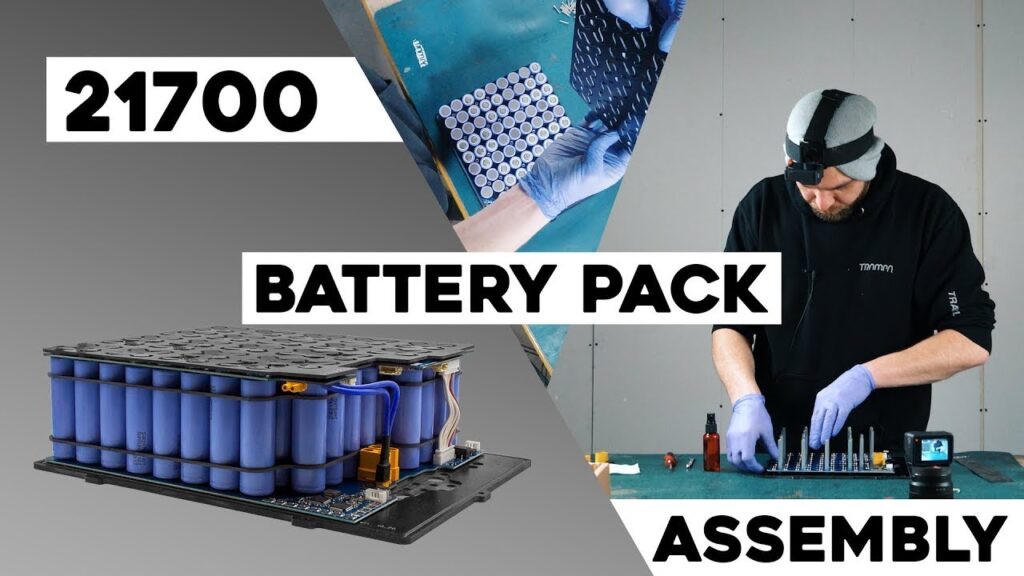
- 21700 cylindrical cell: Higher capacity than 18650. Ideal for high current draws.
- Pouch cell: Low profile shape maximizes energy density per volume. Complex assembly.
- Prismatic cell: Robust rigid housing. Easy to stack. Mediocre on energy density.
Cell Specs
Select cells all from one manufacturer, with minimal variation in:
- Rated capacity
- Nominal voltage
- Discharge performance
- Internal resistance
Mismatched cells degrade stability.
Configuration
Decide series (voltage) vs parallel (capacity) based on your voltage and runtime needs. Common formats are 3S, 4S, 5S, 12S etc.
BMS
Use a Battery Management System for cell monitoring and safe charging/discharging. Select appropriate current ratings and features.
Charger
Match your charger voltage and chemistry settings to the pack’s total specs. CC/CV is ideal for lithium batteries.
Step 2: Prep the Workspace
Lithium battery pack assembly requires meticulous attention to detail and caution.
Safety Gear
Prepare safety gear:
- Heat-resistant gloves & eye protection
- Flame retardant apron (recommended)
- Class D fire extinguisher
Clean Room
Work in an ESD-safe clean room if possible. Clean tools and workspace using pure isopropyl alcohol.
Grounding
Use an ESD mat connected to a grounded workbench. Wear a grounding wrist strap. This protects static-sensitive electronics from damage.
Step 3: Test, Match & Sort Cells
To account for manufacturing tolerance variances between cells:
- Record open circuit voltage (OCV) of each cell with digital multimeter.
- Compare measured to rated voltages to detect defective cells.
- Sort cells into bins by voltage for pairing.
Ideally, the voltage difference between cells should be under 10mV for battery stability. Significant variation under load can imbalance currents.
Step 4: Cell Preparation
Before welding, prepare the cell terminals:
- Clean: Use isopropyl alcohol and lint-free wipes to remove surface contaminants for better welds.
- Insulate case with electrical tape or heat shrink. This prevents short circuiting from loose cell wraps or metal debris. Pay special attention to covering any tears.
- Pre-charge (optional): Charge cells halfway to ramp voltage more gently afterwards when the cells are welded in series. Helps reduce electrical stress.
Step 5: Welding
Using nickel strips, connect cells in series and/or parallel per your pack design:
- Series: Welds positive (+) terminal to negative (-) terminal
- Parallel: Welds same terminals (+ to +, – to -)
Key tips for safe, reliable welds:
- Use thick pure nickel strip, at least 0.15mm unless space is extremely tight. Thicker nickel has lower resistance.
- Overlap nickel 1cm+ on each terminal for maximum weld area
- Check torque specs for your spot welder and test varying settings if needed until welds are strong. Higher capacity cells require more heat.
- Use a firm clamping jig to hold cells still and apply consistent pressure during welding process
- After each weld, check voltage across the joint using a multimeter to ensure connection integrity before proceeding
Step 6: Insulate Battery Pack and Connect BMS
- Separate all nickel strips and terminals with fish paper, fiberglass sheet or other insulating materials cut to fit. This prevents shorts.
- Affix cells tightly together using hot melt adhesive for mechanical stability. Allow cooling completely before further handling.
- Solder thicker gauge wire leads onto the main battery output terminals. Insulate these exposed high current connections using heat shrink tubing.
- Follow BMS wiring diagram to connect balance wires and communication cables. Avoid crossing balance wires.
- Verify correct connectivity and voltage at BMS plugs using multimeter.
Step 7: Enclose Battery Pack
Create an enclosure or casing to protect, insulate and secure the battery assembly using suitable materials like acrylic sheets or aluminum:
- Design case to allow space on all sides for swelling over life of pack
- Cut slots or holes for wiring pass through
- Consider airflow needs based on application power draws
- Use strong mechanical fasteners to affix case
- Seal enclosure for outdoor uses
Step 8: Testing and Commissioning
Before putting your custom battery pack into service:
- Turn on BMS to initialize operation
- Follow BMS instructions to configure settings like over/under voltage thresholds and charging/discharging limits.
- Run manual balance procedure if available
- Use power supply or external charger for initial conditioning cycles per cell manufacturer guidance
- Gradually ramp up charge/discharge to test performance limits
- Monitor cell voltages and temperature rise continuously for stability
- Frequently re-check torque values on connections
- Consider conformal coating PCBs for added environmental protection
Wrapping Up
With careful assembly and testing methodology, you’ll have reliable energy storage tailored perfectly to your needs! Let me know in the comments if you have any other battery pack building tips.