


Have you ever wanted to create your own custom 12v lithium-ion battery pack? Making one from scratch using 18650 cells is easier than you think.
In this step-by-step guide, as a professional 18650 battery packs manufacturer, I’ll show you exactly how to make a durable and high-capacity 12v 18650 battery pack for all kinds of electronics projects.
Why Make Your Own 12v Battery Pack?
Before we dive in, you might be wondering why you’d want to make your own battery rather than just buying one. Here are some of the benefits:
Cost Savings: Pre-built 12v lithium battery packs can get very expensive. By sourcing individual 18650 cells and components yourself, you can save a ton of money.
Customization: When you build it yourself, you can choose the capacity, shape, connectors and more. It’s the ultimate in customization for your specific project.
High Quality: You can hand-pick top-notch 18650 cells and components for performance that rivals or beats commercial packs.
Fun Project: For DIYers, makers and hobbyists, it’s an enjoyable weekend project that teaches useful skills. And you get an awesome custom battery for your trouble!
Environmental: By reclaiming 18650 cells from old laptop batteries that would otherwise go to waste, it’s recycling at its finest!
Now let’s look at exactly how to make your own kickass 12v 18650 power pack.
How to Make a 12v 18650 Battery Pack?
Step 1: Source Materials
The first step is gathering all the components you’ll need. Here’s what you’ll need to complete this project:
18650 Cells
18650 refers to the size of the lithium-ion cells – they are 18mm x 65mm. You’ll need enough to create your desired capacity. For a 12v pack, use 12 cells for basic 3s (3 series) pack. Or more cells in parallel for higher capacity.
The best way to source cells is from old laptop batteries which are easy to find and often still in great shape. Ask friends for their dead laptop batteries!
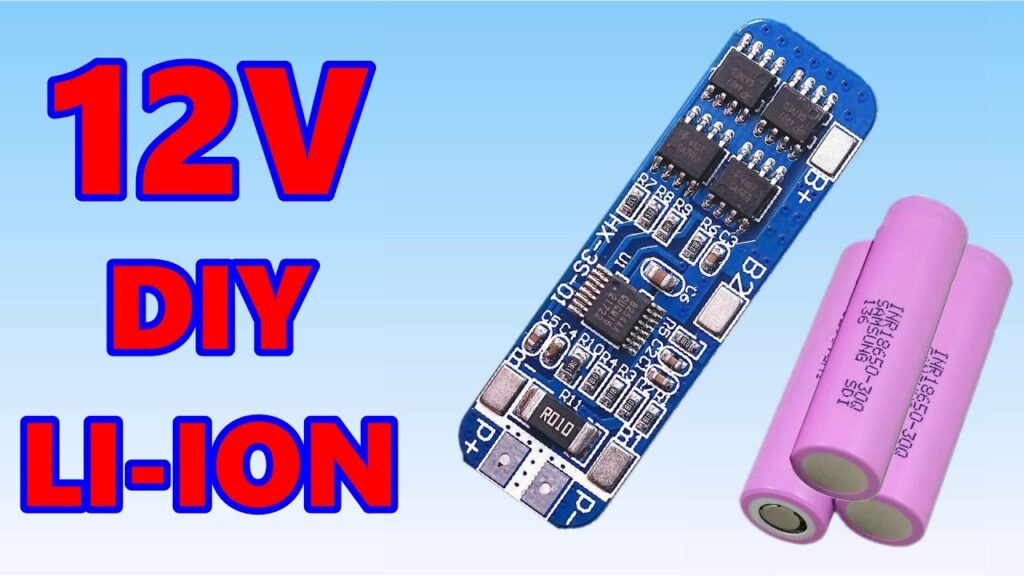
Battery Management System
A BMS is crucial for 18650 packs to:
- Prevent overcharging/discharging
- Balance cell voltages
- Protect from short circuit
For a basic 12v pack, a simple 3s BMS is perfect. For higher capacity with more cells, get a higher amp BMS.
Nickel Strips
To connect the 18650 cells together, pure nickel strips work perfectly. Get 0.15mm thick strips for easiest handling.
Wire & Connectors
You’ll also need connecting wires rated for high current, like 14 AWG silicone wire. And choose a connector like XT60 or Anderson Powerpole suited for your application.
Insulating Tape & Shrink Wrap
To protect everything, polyimide tape and adhesive lined heat shrink is perfect for creating a rugged housing around your finished pack.
Spot Welder (Optional)
Connecting nickel strips to 18650s is easiest with a spot welder but can be soldered by hand as well.
That covers everything you’ll need. Now let’s start building!
Step 2: Test & Match Cells For Best Performance
With cells sourced, now it’s time to test capacity and match cells with similar performance. This step is crucial for safety, capacity and longevity!
Using a specialized 18650 tester, discharge each cell one-by-one to determine actual capacity. Match cells in the 3.0Ah – 3.2Ah range for best consistency.
Next, test and record internal resistance. Match cells with similar resistance readings around 20-50 milliohms for optimal current balancing.
Once testing is complete, set aside the best matched cells for your pack in separate batches. Keep capacities within 0.1Ah and resistance within 10mohm between cells for each batch.
Step 3: Physical Cell Preparation
Before connecting cells, preparation is key for constructing a safe, durable battery.
If salvaging used cells, carefully check the wrapper for any tears or holes which can compromise the cell. Re-wrap if needed.
Thoroughly clean all cell contact surfaces with isopropyl alcohol and a lint-free cloth to remove any grime or residue for best conductivity.
Then put a small strip of electrical tape or Kapton tape around the positive terminal of each cell to prevent shorting.
Finally, arrange your batch of matched cells together, ensuring the positive and negative terminals align between cells.
Step 4: Connect Cells in Series
With cells prepped, it’s time for the fun part – wiring everything together!
Since 18650 cells have a nominal voltage around 3.6-3.7v, you need 4 cells in series (4s) to achieve 12-14v.
But for basic projects, 3 cells in series (3s) gets you close enough to 12v when fully charged. Arrange your cells in the desired series configuration.
Then accurately cut and spot weld pure nickel strips between the negative terminal of one cell to the positive terminal of the next cell to connect everything in series.
Take care to make solid spot weld connections. Continue connecting strips between cells until all are linked in series.
Step 5: Install Battery Management System
Once cell connections are complete, it’s now time to wire up the battery management system to enable safe charging, discharging and balancing.
First connect main B+ and B- wires to the positive and negative output terminals. Ensure you observe polarity for proper current flow direction!
Next solder additional tapped balance wires to the individual cell terminals labeled B1, B2, B3 on the PCB. Connect B1 to cell 1 negative, B2 to cell 2 negative and so on.
Use the included wiring diagram with your BMS for proper voltage tap locations specific to the cell count and configuration. Double check wire routing!
Step 6: Apply Protective Outer Wrap
Now your custom 18650 battery pack is fully assembled! Last step is protecting everything by wrapping the battery.
Start by encircling the battery multiple times with strong polyimide tape, ensuring cell terminals are fully insulated underneath to prevent short circuiting.
Then over the tape, slide appropriately sized adhesive-lined heat shrink tubeing down over the entire pack. Use a heat gun to carefully shrink the outer sleeve tightly around the battery.
Additional Safety Measures
To prevent damage and ensure safe operation, here are some additional best practices when handling and using 18650 packs:
- Avoid shorting terminals
- Don’t over-discharge cells below 2.5v
- Don’t charge over 4.2v per cell
- Prevent cells rising over 140°F during charging
- Ensure room for cells to expand inside housing
The included BMS helps mitigate most issues but additional monitoring and protection is recommended for high power applications.
A dedicated smart charger with individual cell monitoring further enhances safety and pack longevity.
Conclusion
Building custom 12v 18650 battery packs takes planning, care and attention to detail – but the end result is worth it!
You get affordable high-capacity lithium power tailored exactly for your projects. Plus useful skills for future battery builds or other DIY solar and electronics adventures!
With protective measures in place, these packs can last for many years powering awesome projects on land, sea or in the air!
Now it’s your turn – source some cells and get busy making!
Frequently Asked Questions
How long do 18650 battery packs last?
With a quality BMS actively balancing and a maximum charge/discharge of 4.2v and 2.5v per cell, 18650 packs can last anywhere from 300 to over 500 charge cycles. Temperature extremes deteriorate pack lifespan.
Can 18650 battery packs explode?
Like any lithium battery, 18650 cells and packs can fail catastrophically if misused and protections fail. However incorporated safeguards like the BMS make thermal runaway extremely unlikely.
What’s the difference between 18650 and LiPo batteries?
Lithium polymer batteries offer more flexible shaping compared to cylindrical 18650 cells. However LiPo lacks a protective metal casing so requires more careful handling and protection to ensure safe operation.
I hope you found this DIY guide helpful for making your own custom 12v 18650 battery pack. Please let me know in the comments if you have any other questions!